Welcome to this step-by-step guide on crafting a sleek zippered pouch with a flat bottom. Learn to create a stylish, functional accessory with a professional finish. Perfect for beginners and experienced sewists alike.
Overview of the Project
This tutorial guides you through creating a sleek zippered pouch with a flat bottom, perfect for organization or as a gift. The project involves cutting fabric, attaching a zipper, and sewing with a 3/8 seam allowance. The flat bottom design adds structure, while boxed corners enhance the professional finish. Ideal for beginners, this pouch is versatile for makeup, crafts, or everyday use, offering a practical and stylish solution for storing small items.
Benefits of a Flat Bottom Pouch
A flat bottom pouch offers enhanced stability and structure, preventing the bag from collapsing. The boxed corners provide extra space, making it ideal for holding small items like makeup or tools. The design adds a professional touch, while the flat base ensures the pouch stands upright, making it both functional and visually appealing for everyday use or as a thoughtful handmade gift.

Materials Needed for the Tutorial
Gather essential supplies, including fabric for the main and lining, a zipper, fusible interfacing, and basic sewing tools like scissors, pins, and a sewing machine.
Fabric Requirements
For this project, you’ll need fabric for the main pouch, lining, and fusible interfacing. Choose durable materials like cotton or canvas. Cut two main fabric pieces and two lining pieces. Add fusible interfacing to the main fabric for stability. Optional: small fabric scraps for zipper end covers. Ensure all fabrics align in size and texture for a cohesive look. Use a 3/8 seam allowance when cutting to ensure accurate results.
Zipper and Interfacing
Begin by placing the zipper face down on the main fabric. Sandwich it between the main and lining fabric, ensuring proper alignment. Use a 3/8 seam allowance when sewing. Fusible interfacing is fused to the back of the main fabric for stability. Cut small fabric scraps for zipper end covers to finish the seams neatly. This step ensures a clean, professional finish for your flat-bottom zippered pouch.
Tools and Notions
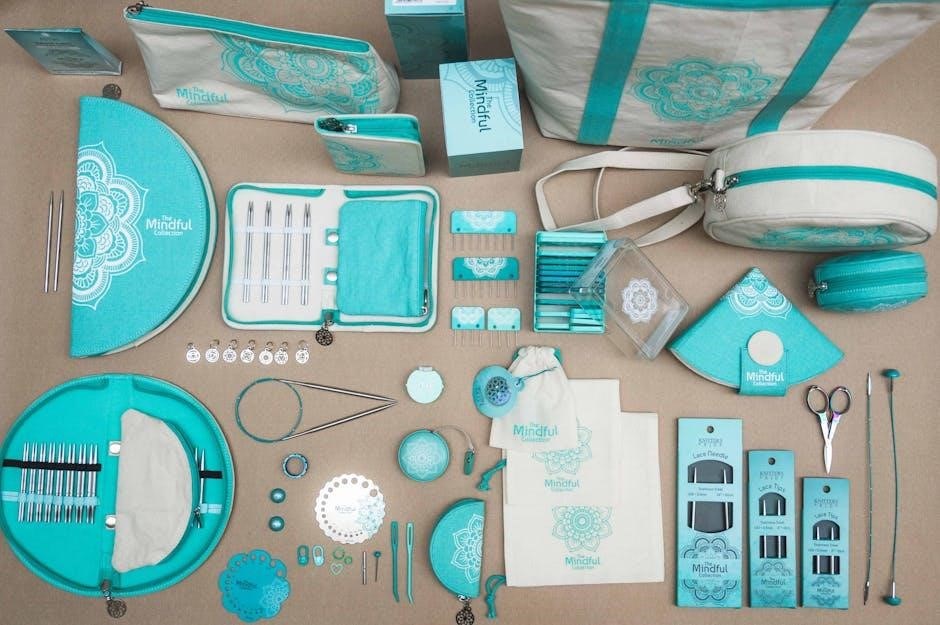
Gather essential tools like a rotary cutter, mat, and ruler for precise fabric cutting. A sewing machine with a zipper foot is crucial for smooth stitching. Pins, scissors, and an iron are necessary for preparation and pressing. Additional notions include a seam ripper for corrections and fusible fleece for stability. These tools ensure accuracy and professionalism in crafting your flat-bottom zippered pouch.

Preparing the Pattern Pieces
Prepare your pattern pieces by carefully measuring and sketching the design. Accurate measurements ensure a proper fit and professional finish for your flat-bottom zippered pouch.
Understanding the Measurements
Understanding the measurements is crucial for a well-fitted pouch. Start by calculating the desired dimensions, ensuring accurate seam allowances. For a flat bottom, precise math ensures a smooth, even shape. Measure twice to avoid errors, as this step sets the foundation for a professional-looking pouch with clean lines and proper structure.
Sketching the Sewing Pattern
Sketching the sewing pattern is the first step in creating a flat-bottom zippered pouch. Start by drawing the main fabric and lining pieces, ensuring accurate measurements for the pouch’s length, height, and width. Use mathematical calculations to determine the flat bottom’s dimensions, ensuring a smooth, even shape. Mark the zipper placement and seam allowances clearly. This step is essential for achieving a professional finish and proper pouch structure.

Cutting Fabric and Components
Cut two main fabric pieces, two lining pieces, and fusible interfacing to match. Also, cut zipper end covers and fusible fleece for a polished finish.
Main Fabric, Lining, and Interfacing
Cut two pieces each of main fabric, lining, and fusible interfacing. These should match in size and shape. Fuse the interfacing to the wrong side of the main fabric for stability. Ensure accuracy in cutting to achieve a professional finish and smooth sewing process. Properly aligned fabric and interfacing are essential for the pouch’s structure and durability.
Zipper End Covers and Fusible Fleece
Cut two fabric pieces for zipper end covers and two fusible fleece pieces. These add a polished look and prevent fraying. Cut 4×1-inch fabric strips for the covers. Snip 1×1-inch squares from the bottom corners to create a boxed shape. Attach the fleece to the zipper ends for a neat finish. These details enhance the pouch’s appearance and functionality, ensuring a professional result. Proper alignment is key for a seamless look.

Attaching the Zipper
Place the zipper face down on the main fabric, aligning edges carefully. Secure with pins and sew in place, ensuring a straight, even stitch for durability.
Placing the Zipper Face Down
Position the zipper along the top edge of the main fabric, ensuring the zipper teeth face downward. Align the zipper’s edges with the fabric’s raw edges, securing with pins. This placement allows the zipper to be sandwiched between the main fabric and lining, ensuring a clean finish. Proper alignment is crucial for a professional look and functional closure.
Sandwiching the Zipper Between Fabrics
Once the zipper is placed face down on the main fabric, carefully position the lining fabric on top, ensuring the raw edges align perfectly. Pin the layers together to secure the zipper in place. This step ensures the zipper is evenly enclosed between the main and lining fabrics, creating a clean and professional appearance when sewn together.
Sewing the Pouch Together
Align the edges carefully, ensuring the zipper is centered. Pin the fabrics securely and sew along the sides with a consistent seam allowance for a polished look.
Using a 3/8 Seam Allowance
A 3/8-inch seam allowance ensures precision and durability for your pouch. This measurement is crucial for maintaining the shape and structure, especially with the flat bottom design. When sewing the sides and bottom, align the fabrics carefully and backstitch at the start and end for strength. Use a zipper foot to navigate smoothly around the zipper edges, ensuring even stitching. Pressing the seams afterward will help create a crisp, professional finish.
Sewing the Lining and Outer Fabric
Place the outer fabric and lining right sides together, ensuring alignment at the edges. Sew the sides and bottom using a 3/8-inch seam allowance. Start and end with a backstitch for reinforcement. The flat bottom will naturally form as you sew the seams. Press the seams open to create a crisp, professional finish. This step secures the structure of the pouch, preparing it for the final assembly and topstitching.
Creating the Flat Bottom
Snip the corners to form a boxed shape, then pinch and sew the bottom seam. This technique ensures a flat, even surface for a polished, professional finish. Press seams open for crisp results.
Snipping Corners for a Boxed Shape
Snip 1×1 inch squares from each corner to create a flat bottom. This step allows the pouch to sit upright and maintain its shape. Use scissors or a rotary cutter for precise cuts. Ensure corners are even for symmetry. After sewing, press seams open to achieve a crisp, professional finish. This detail elevates the pouch from basic to polished, making it both functional and visually appealing. Accuracy is key for a smooth, even boxed shape.
Pinching and Sewing the Bottom Seam
Align the bottom edges, pinching the seams to create a flat shape. Sew along the bottom using a 3/8 seam allowance, ensuring the edges are secure. This step forms the boxed shape, giving the pouch stability. Press the seam open for a crisp finish. Proper pinching ensures the flat bottom lies smooth, enhancing functionality and appearance. This technique is essential for achieving a professional-looking pouch with a sturdy base.
Turning and Topstitching the Pouch
Turn the pouch right side out through the zipper opening; Press seams for crisp edges. Topstitch along the top edge and bottom for a polished look. This step enhances durability and gives a professional finish to your flat-bottom zippered pouch.
Turning the Pouch Right Side Out
Once the pouch is sewn, carefully turn it right side out through the zipper opening. Gently push out the corners with a blunt tool for sharp edges. Press the seams with an iron to create a crisp fold. This step ensures the pouch lies flat and maintains its shape. Turning the pouch right side out reveals the finished interior and exterior, preparing it for the final topstitching step. Ensure all seams are smooth and even before proceeding.
Topstitching for a Professional Finish
Topstitching enhances the pouch’s appearance, adding a polished, professional touch. Sew a straight line along the edges of the pouch, using a contrasting thread color for visual appeal. Ensure stitches are evenly spaced and align with the seam lines. This step refines the design, emphasizing the flat bottom and crisp seams. Proper topstitching elevates the pouch’s quality, making it look handmade with precision and care.
Final Tips and Customization Ideas
Customize your pouch with vibrant fabrics, ribbons, or embroidery. Add boxed corners for a professional look or experiment with varied materials for unique textures and styles.
Adding Boxed Corners
Snip 1×1 inch squares from each corner of the fabric to create boxed corners, ensuring a flat bottom. This technique enhances the pouch’s structure and professional appearance. Sew the sides, then press seams for a crisp finish. Boxed corners add functionality and visual appeal, making the pouch ideal for gifts or personal use. This detail elevates the design, offering a polished look to your handmade accessory.
Customizing with Different Fabrics
Explore creative possibilities by using diverse fabrics for your zippered pouch. Mix patterns like houndstooth with solids for a unique look. Choose vibrant colors or subtle textures to personalize your design. Fusible interfacing ensures stability, while contrasting linings add surprise details. Experiment with scrap fabrics for a one-of-a-kind piece or match fabrics to suit specific occasions. This customization makes each pouch truly special and tailored to your style or gift recipients’ preferences.
Congratulations! You’ve successfully created a stylish, functional zippered pouch with a flat bottom. Perfect for everyday use or as a thoughtful gift.
Final Thoughts on the Tutorial
This tutorial provides a clear, step-by-step guide to creating a zippered pouch with a flat bottom. By following the instructions, you can craft a functional and stylish accessory. The flat bottom adds a professional touch, making it ideal for various uses. With basic sewing skills, anyone can achieve this project, resulting in a durable and visually appealing pouch. Happy sewing!
Encouragement to Try the Project
Creating a zippered pouch with a flat bottom is a rewarding project that combines practicality with creativity. Whether you’re a beginner or an experienced sewer, this tutorial guides you through each step, ensuring a professional finish. The flat bottom design adds functionality, making it perfect for everyday use or as a thoughtful handmade gift.
Don’t hesitate to experiment with different fabrics and customization ideas to make your pouch truly unique. Give it a try and enjoy the satisfaction of crafting something both useful and beautiful!